Complete Beginner’s Guide to Working Out at Home: No Equipment Needed
Starting a workout at home with no equipment sounds simple — and it is — but there are a few things worth understanding so you don’t get stuck early.
The basics
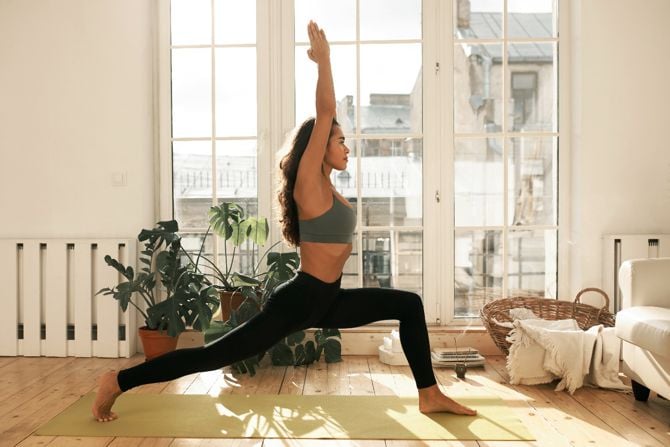
- You don’t need fancy gym machines or weights to move your body, build strength and feel fitter. In fact, body-weight workouts (your own body as resistance) work well. (Nike.com)
- Doing it at home means no commuting, no gym membership fees, and you can fit it around your life. (Healthline)
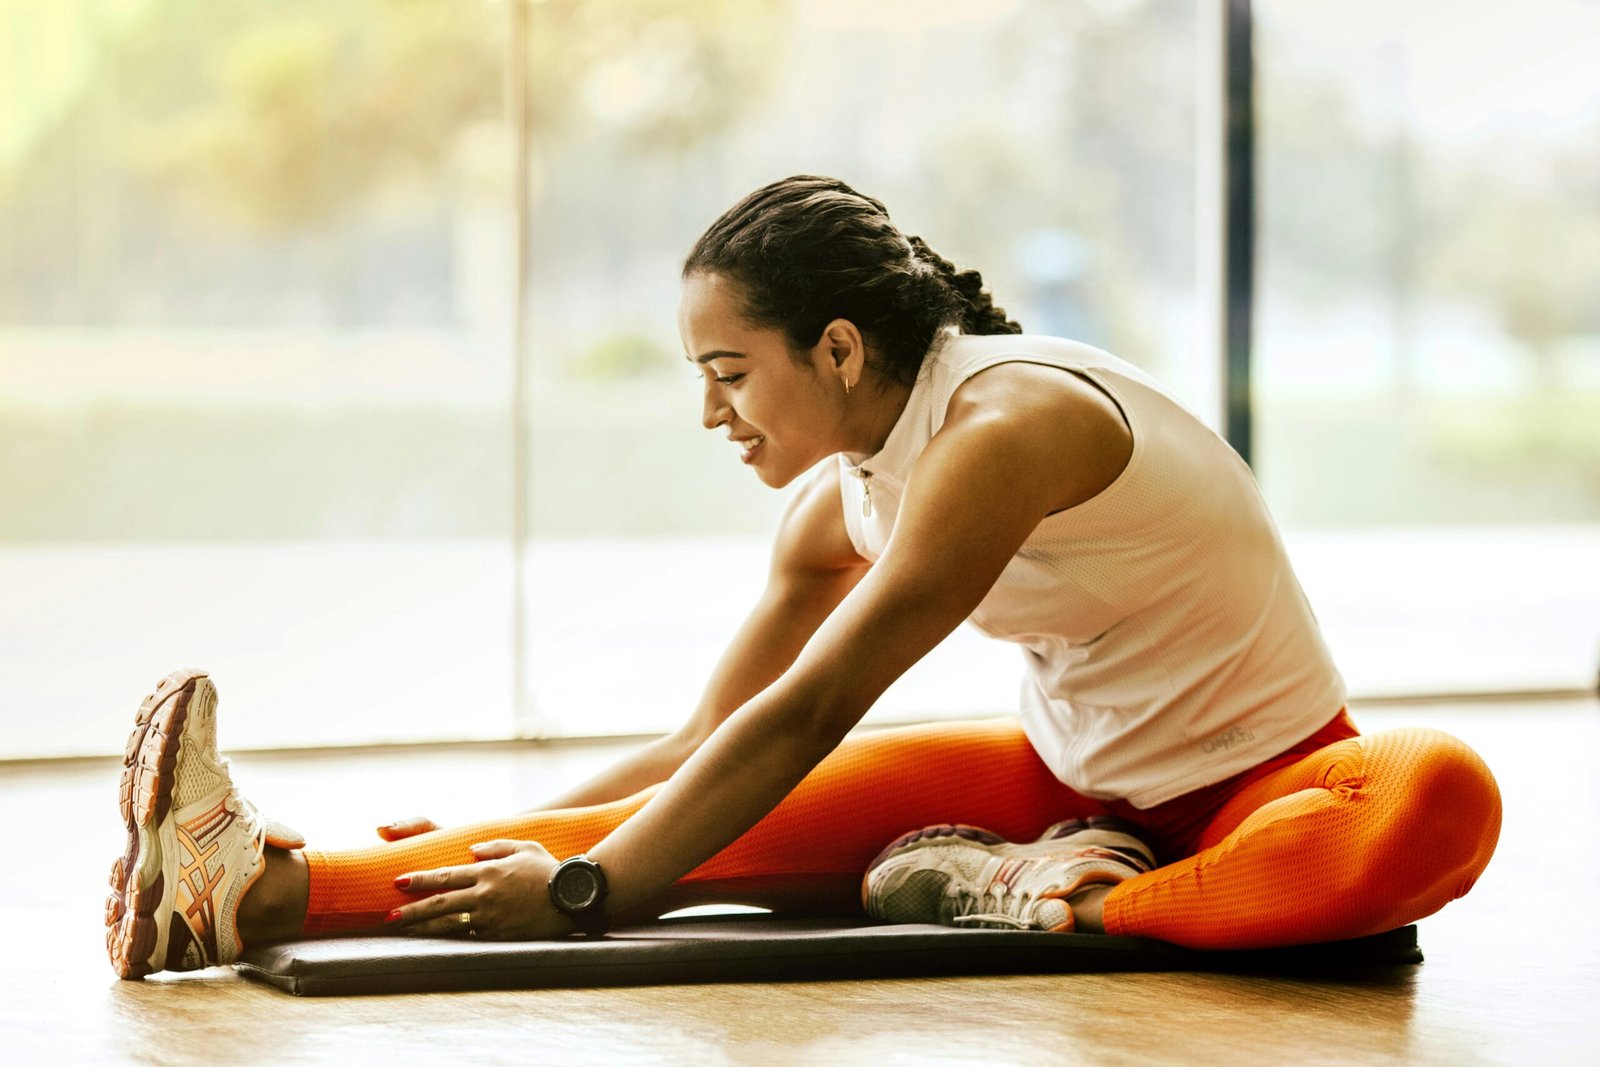
- For beginners, consistency matters far more than intensity. I’ve seen in my own life: when I first started I committed to just 10 minutes three times a week, and it made a big difference compared to “waiting” for the perfect time to hit the gym.
My story in brief
When I began working out at home, I had a small spare corner in my flat, a yoga mat and zero weights. I started with simple squats, lunges and push-ups (knees down to begin), three times a week. After six weeks I felt stronger, slept better and the flat-out “I’m too busy” excuse started to fade. Over time I gradually increased reps, and then added short circuits. The key: I began somewhere.
I’ll share what helped me later in the article.
Expert voice says…
According to a good article on strength training at home: “A home-based routine can be a super easy and convenient way of fitting in a workout … It saves time … you can exercise on your own schedule.” (Healthline)
Another points out: “Despite what you may have heard, you can get a great workout without equipment … for beginners, body-weight exercises generally provide enough resistance to challenge you.” (Nike.com)
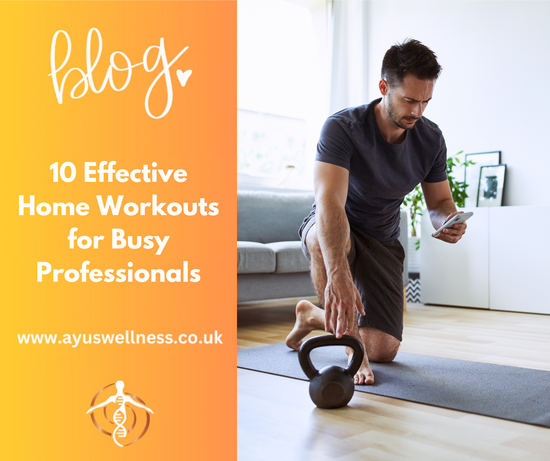
Getting organised: setting up your home workout space

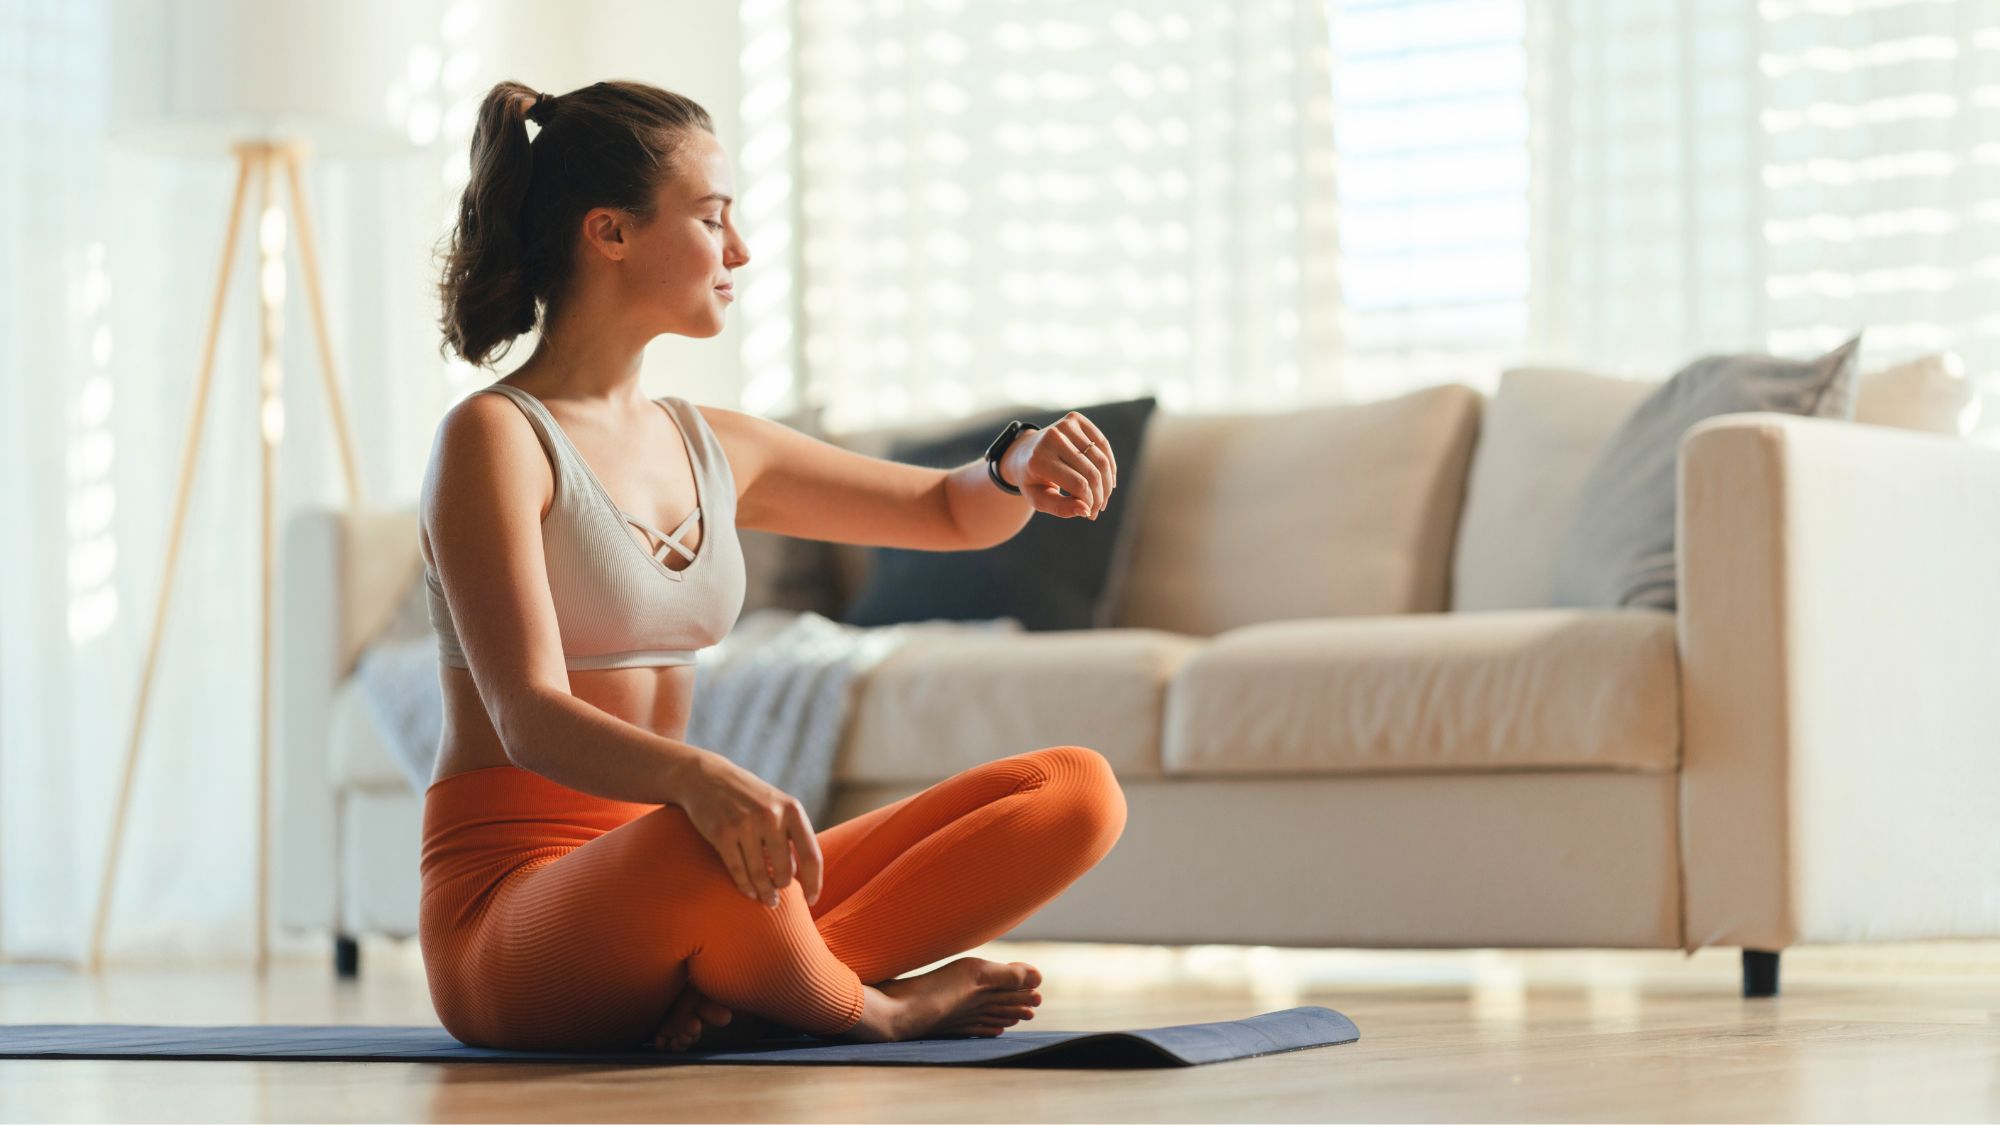

You don’t need a dedicated room or fancy kit. Here’s what helped me plus a few tips:
What you’ll need
- A cleared space roughly 2 m × 2 m (just enough to move arms and legs freely).
- A non-slip surface (wood, carpet or a yoga mat).
- Comfortable clothes and a pair of trainers or shoes with decent grip (especially if you have hard floors).
- A timer (your phone will do).
- Optional: water nearby, towel.
Tips for making it work
- Pick a corner you can leave ready. I left my mat rolled out so I didn’t have to faff putting it down each time.
- Set a regular time (e.g., after breakfast or before dinner) so it becomes habit.
- Play music or a podcast if it helps your mood.
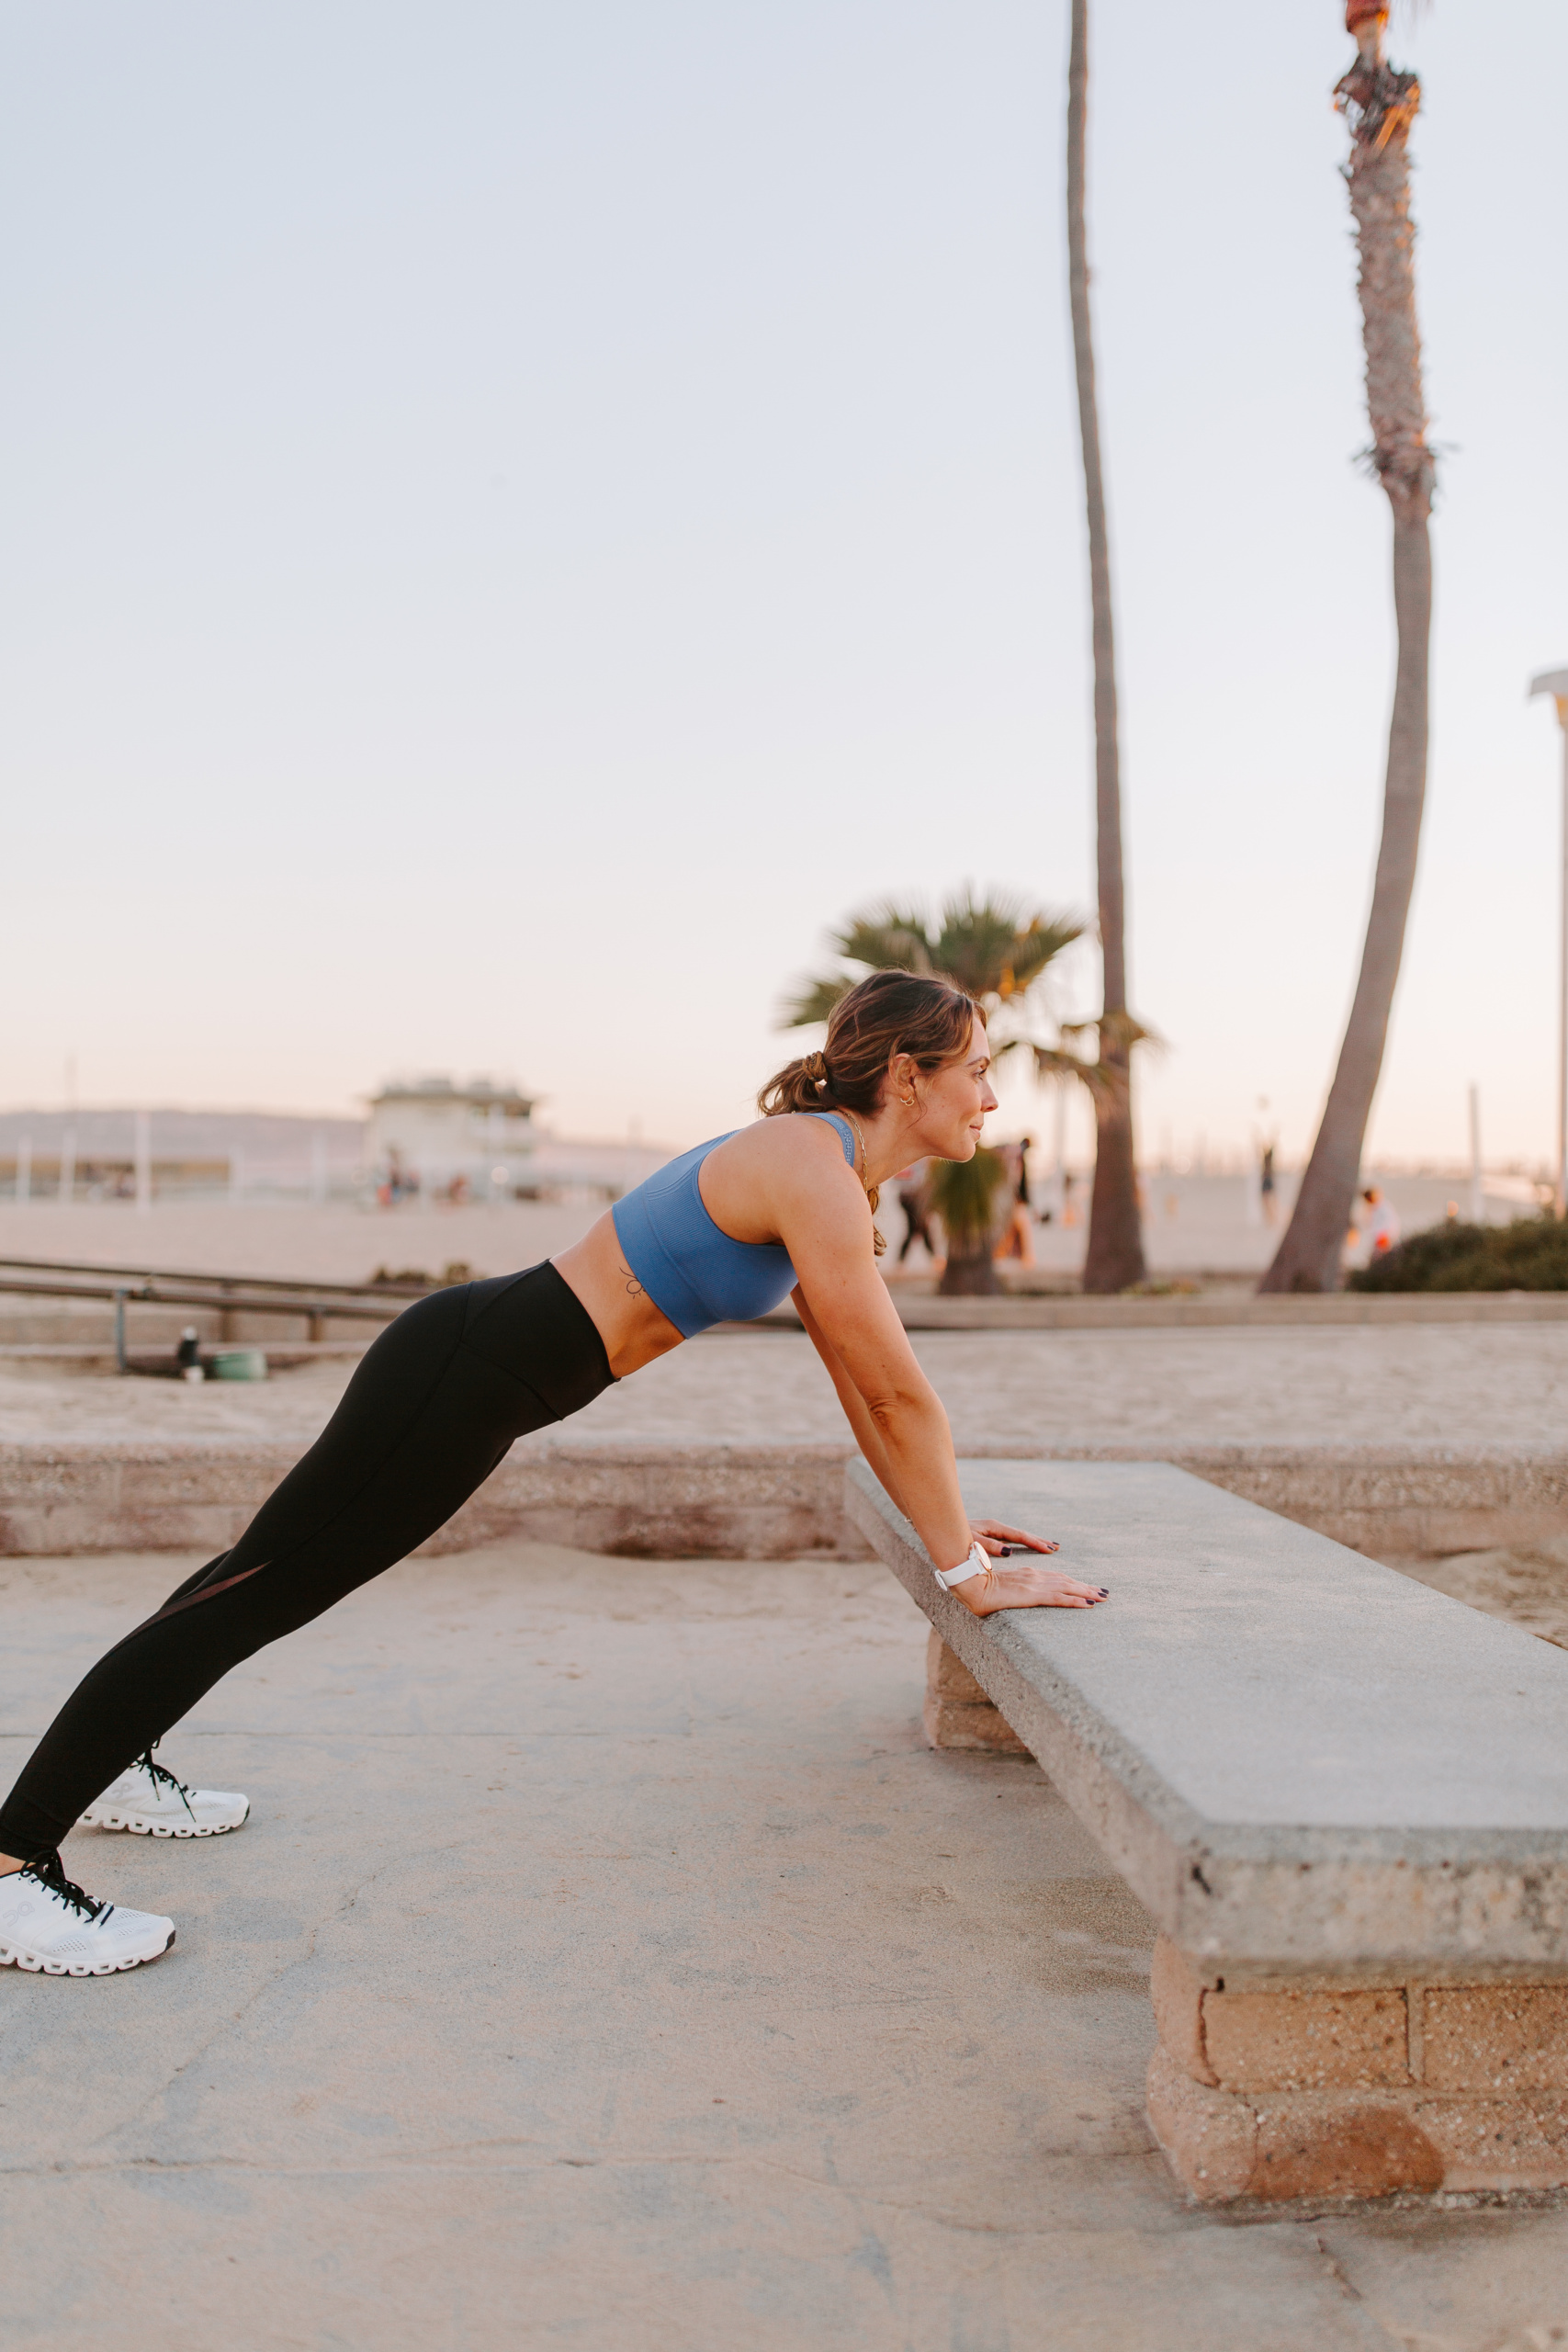
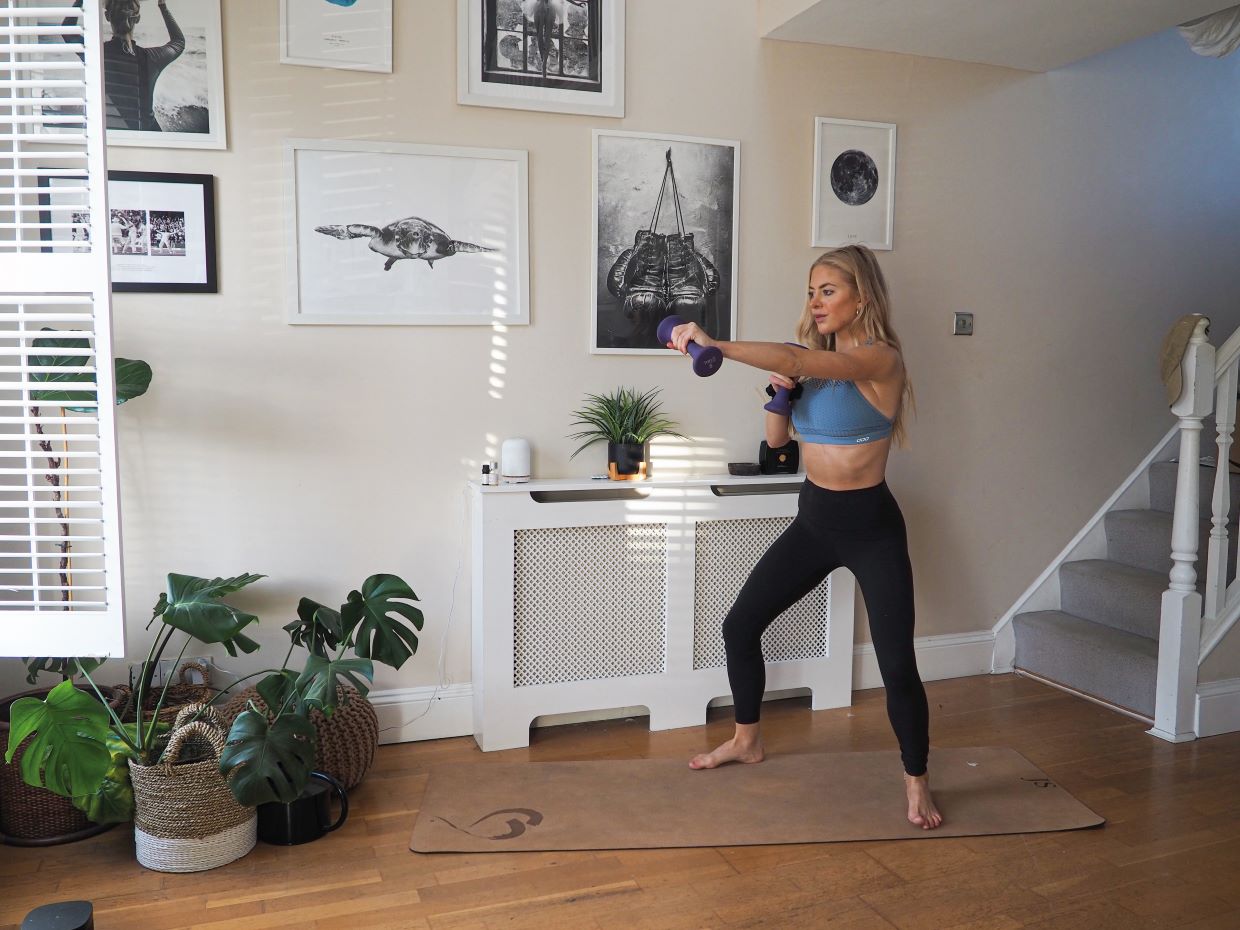
- If space is tight (studio flat or shared house), go for moves that require minimal floor space (e.g., standing lunges, push-ups, planks).
- Make it visible. I had a sticky note on the wall: “15 min = done”.
Warning & common mistakes
- Don’t start too hard. Jumping into 45 minutes high intensity might leave you sore or injured.
- Make sure you warm up (e.g., 2 minutes of light movement, arm circles, leg swings).
- If you have joint issues or health concerns, maybe consult a physio or doctor just to check.
- Avoid comparing yourself with others. Your pace is yours.
Fundamental moves: building your no-equipment workout library


Here are some of the best no-equipment moves. I’ll list what I used when I started, plus progressions.
| Move | Why it’s useful | Beginner version | Progression |
|---|---|---|---|
| Squats | Works your legs, glutes, core. (Healthline) | Feet shoulder-width, sit back as if on a chair, knees not going too far past toes. 10-12 reps. | Add jump squats, or increase reps to 15-20. |
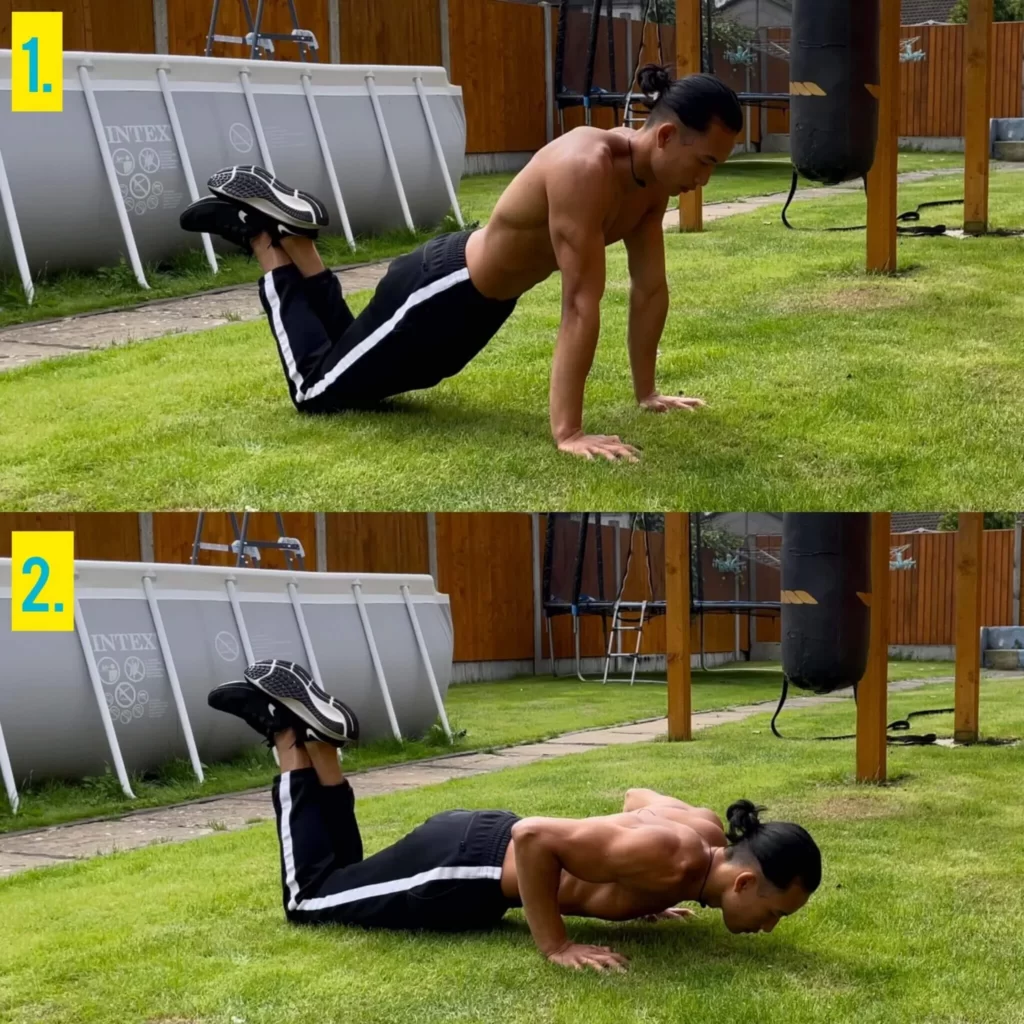
| Push-ups | Upper-body + core strength. (Nike.com) | On knees, hands slightly wider than shoulders, body in a straight line from shoulders to knees. 5-8 reps. | Full push-up, or decline push-up (feet on chair). |
| Lunges | Helps single-leg strength, stability. (Herzindagi) | Forward lunge, one leg at a time: 8 per leg. | Add reverse lunges, walking lunges, or lunge jumps. |
| Glute Bridge | Great for your glutes/hamstrings especially if you sit a lot. (Muscle & Fitness) | On your back, knees bent, feet on floor. Lift hips up, squeeze glutes, hold for 1–2 seconds. 12 reps. | Single-leg glute bridge. |
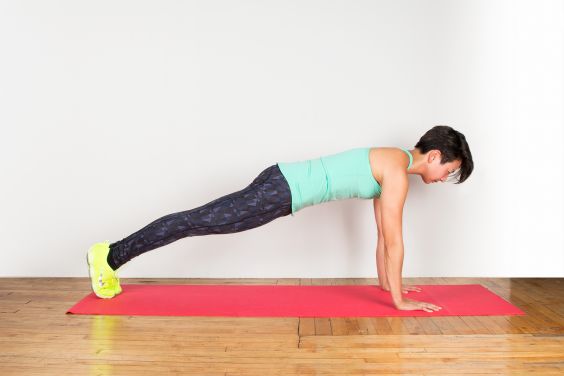
| Plank | Builds core strength and stability. Useful base move. | On forearms or hands, keep body straight line from head to heels/knees. Hold for 20-30 seconds. | Side plank, extended hold, plank to push-up. |
| Burpees / Mountain Climbers / High-knees | For cardio + fat burn. (Nike.com) | Choose one: e.g., mountain climbers 30 secs, then rest. | Increase time, add jump, combine moves into a HIIT circuit. |
My recommended first session (approx 15 minutes)
- Warm-up: 2 minutes (marching on spot, arm circles, gentle leg swings).
- Circuit (choose 1-2 sets):
- Squats × 10
- Push-ups (knees) × 6
- Lunges × 8 each leg
- Glute bridges × 10
- Plank × 20 seconds
- Rest 30-60 seconds, then repeat if you have time and energy.
- Cool down: 2 minutes stretching (quads, hamstrings, shoulders).
Once you’ve done this 2–3 times and you feel comfortable, you can add another set or increase reps.
How to build a weekly plan for beginners


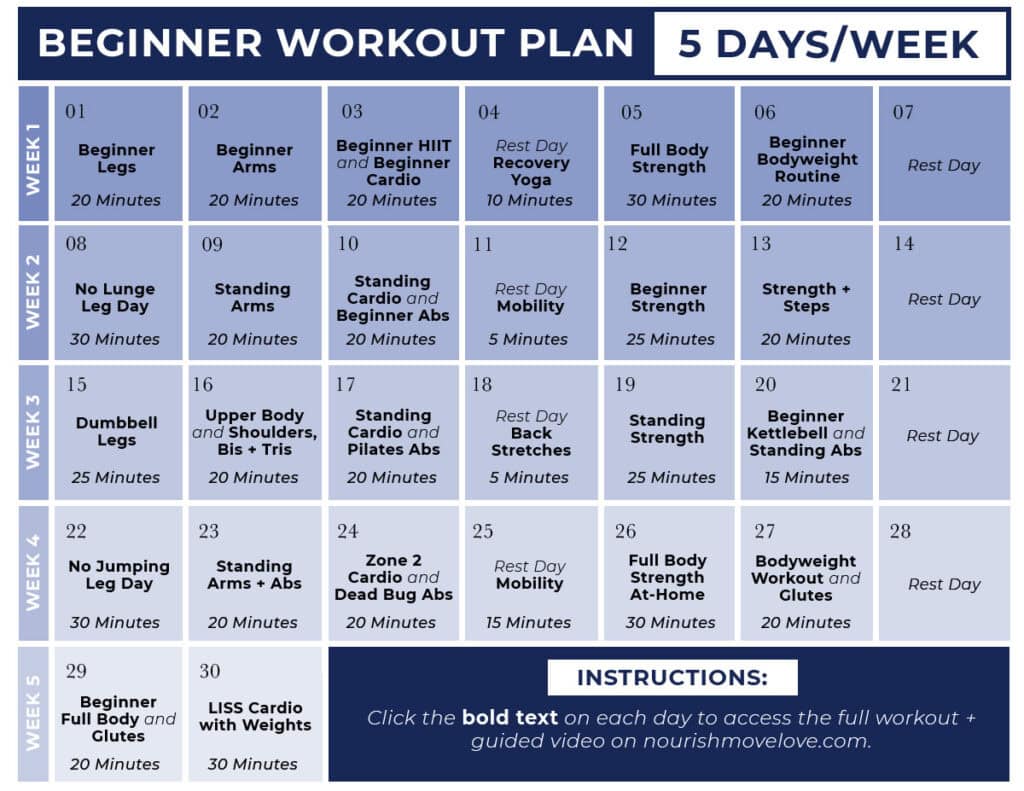


Here’s how I made my weekly plan when I was starting out — simple, flexible, forgiving.
Sample plan for week 1
- Monday: 15 min workout (as above)
- Tuesday: Rest or gentle walk
- Wednesday: 15 min workout
- Thursday: Rest
- Friday: 15 min workout
- Saturday: Rest or activity you love (e.g., bike ride, dance)
- Sunday: Rest
How to progress
- After 2–3 weeks, move to 20–25 min sessions.
- Increase sets from 1 → 2.
- Raise reps of each move (squats 10→15, etc).
- Add a “challenge day” (e.g., 5-minute blast of burpees + mountain climbers).
- Always include rest days. They’re part of the plan. Muscles rebuild during rest.
What I found worked
- I scheduled my sessions in my diary (yes, physical diary!). That made it feel “actual”.
- I chose the same time slot (right after work) to make it a habit.
- I tracked it with a simple tick-box on the calendar — seeing 3 ticks in a row motivated me.
- If I missed a day, I didn’t beat myself up — I just resumed next day. Consistency came from showing up, not perfection.
Nutrition, sleep & lifestyle: the unsung partners


Working out at home is one piece of the puzzle. To really feel better, you’ll benefit from attending to three other things:
1. Food
- Aim for balanced meals: protein (chicken, beans, eggs), vegetables, some healthy carbs (wholegrain bread, oats), healthy fats (nuts, olive oil).
- I found that on workout days I was hungrier — prepping a snack (yoghurt + fruit) helped.
- Avoid extreme diets. A small sensible change (e.g., swapping sugary drinks for water) goes further than “all or nothing”.
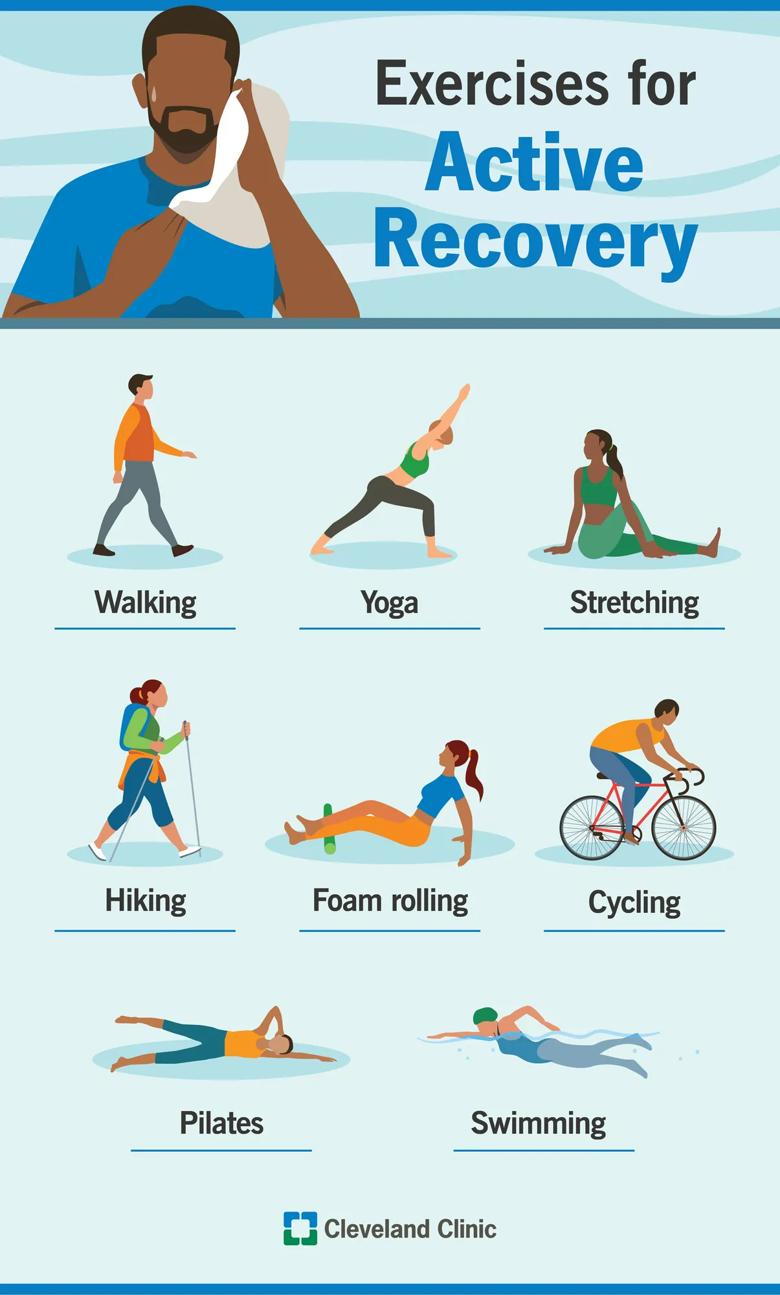
2. Sleep & recovery
- I noticed if I slept less than 7 hours I felt flat, and the workout felt harder.
- Recovery means: good sleep, and rest days (don’t workout every day).
- Stretch a little after your session — helps with soreness and mobility.
3. Hydration & mindset
- Drink water. Simple but often ignored.
- Celebrate small wins: did your push-ups feel a bit easier? Great. Acknowledge that.
- Let go of comparing: everyone starts somewhere.
- Keep in mind: this is for you — your strength, your health, your mood.
Troubleshooting common beginner hurdles


Here are some issues you might face, and how to deal with them:
Problem: “I’m too busy”
Solution: Do a shorter session. Even 10 minutes is better than none. When I only had 10 minutes before an evening meeting, I did: squats × 12, push-ups × 6, plank × 20 s, repeat twice. It still got me moving.
“Stick with basic calisthenics… Progress and process takes time, and over time, the journey becomes a part of who you are.” (Reddit)
Problem: “I don’t feel strong / I’m too slow”
Solution: That’s fine. Start with easier versions. For push-ups use knees. For squats go shallow until you feel comfortable. Focus on form rather than speed.
According to bodyweight exercise guides: “For beginners, body-weight exercises generally provide enough resistance to challenge you.” (Nike.com)
Problem: “I’m bored of the same routine”
Solution: After a few weeks, vary your routine: change the order of moves, add a new exercise (like glute bridges), or increase reps. You could also try a “HIIT” version (short bursts faster) for fun.
Problem: “I’m sore / I’ve got aches”
Solution: Soreness is common when starting. If it’s moderate, it’s okay. If you feel sharp pain, stop and check your form. Always warm up and cool down. Rest day matters.
Real-life example: Sarah’s story
Sarah — a mum of two, full-time job, shared house in Manchester. She wanted to feel more energetic but couldn’t commit to a gym. Here’s how she did it:
- She cleared a corner in her living room and bought a cheap yoga mat (£15).
- Set her target: “three times a week, at least 15 minutes”.
- Used bodyweight moves (squats, lunges, push-ups on knees, planks).
- Kept a tick-box chart on her fridge.
- In week 4 she increased to 20 minutes and added lunges with pulses.
- After 12 weeks: she reported better posture, less lower-back ache from desk work, and felt “stronger” when carrying shopping or kids.
- She still has days she skips — “and that’s okay” she says. What matters is she comes back.
Her story reminds me: small steps + consistency = meaningful change.
Tips to stay motivated
- Find your “why”: Is it to feel more energetic? Fit into clothes? Sleep better? Write it down.
- Micro-goals: e.g., “Do session on Monday, Wednesday, Friday this week”.
- Track progress: After 4 weeks test yourself: how many squats could you do before? Try again and see improvement.
- Variety: Change the view (workout in garden vs living room), playlist, time of day.
- Reward yourself: Non-food reward when you hit a milestone (e.g., new workout top, stroll in nature).
- Be kind to yourself: Missed a session? Don’t dwell. Just pick up next time.
Summary: Your next steps
- Choose your space and schedule your first session (15 minutes this week).
- Learn 3–5 basic moves and get comfortable with them.
- Make a simple weekly plan (3 sessions/week).
- Pair with good sleep, hydration and decent food.
- After 4 weeks review: increase reps or session length if you’re ready.
- Keep the habit going — consistency beats perfect.
